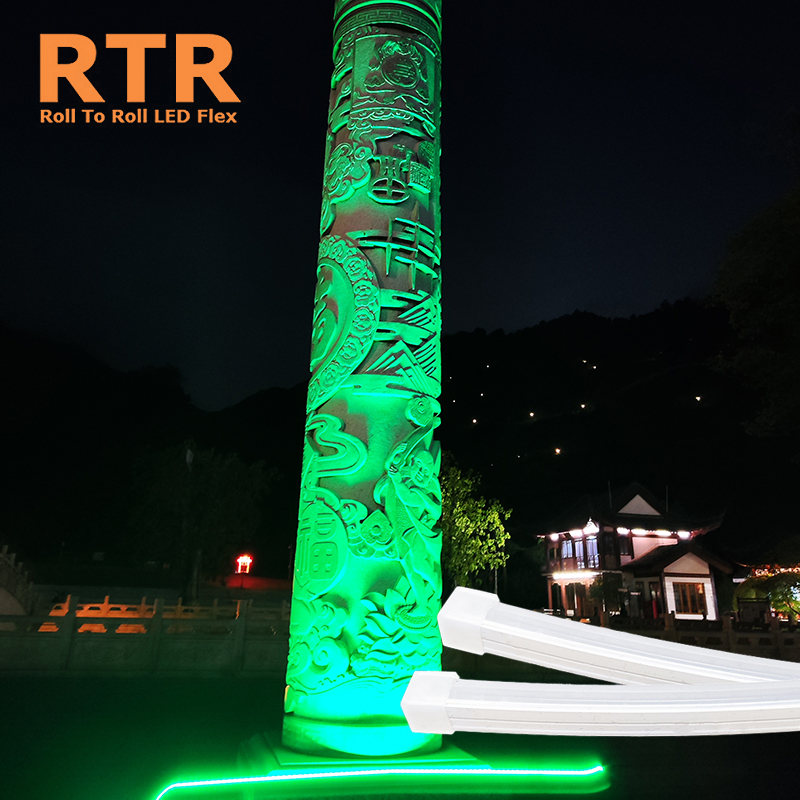
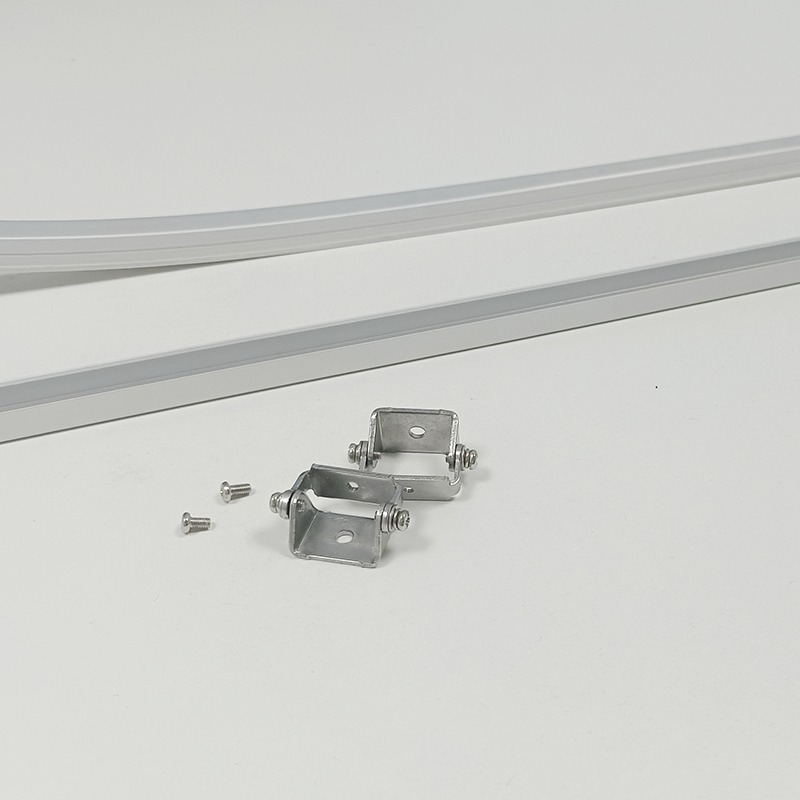
Silicone wall washer plug head plug tail installation is a crucial process in ensuring the waterproofing of outdoor lighting fixtures. The IP66 waterproof level is the minimum requirement for outdoor lighting fixtures, and it is essential to ensure that all installation processes meet this standard. This article will detail the steps involved in the installation of silicone wall washer plug head plug tail and offer tips for ensuring that the installation is done correctly.
Step 1: Check the Installation Site
Before starting the installation process, it is crucial to check the installation site. Ensure that the area is dry and free of any moisture. Remove any debris or other materials that may hinder the installation process. Ensure that the electrical wiring is in good condition and that there are no exposed wires.
Step 2: Install the Silicone Wall Washer Plug Head
The first step in the installation process is to install the silicone wall washer plug head. Begin by inserting the plug head into the fixture’s opening and ensure that it is firmly secured in place. Check that the gasket is in good condition and place it on top of the plug head.
Step 3: Install the Plug Tail
The next step is to install the plug tail. Insert the plug tail into the fixture’s opening and ensure that it is firmly secured in place. Check that the gasket is in good condition and place it on top of the plug tail.
Step 4: Connect the Wires
Once the plug head and tail are securely in place, it is time to connect the wires. Strip the wires and connect them to the plug head and tail. Ensure that the wires are connected correctly and that there is no exposed wire.
Step 5: Test the Connection
Before finishing the installation process, it is crucial to test the connection to ensure that it is working correctly. Turn on the power and check that the fixture is working correctly. If there are any issues, turn off the power and check the wiring to ensure that it is correctly connected.
Step 6: Seal the Connection
Once the connection has been tested and is working correctly, it is time to seal the connection. Apply a silicone sealant around the plug head and tail to ensure that they are watertight. Ensure that the sealant is applied evenly and that there are no gaps.

Tips for Ensuring a Successful Installation
Choose High-Quality Materials
When installing a silicone wall washer plug head plug tail, it is crucial to use high-quality materials. Choose products that are specifically designed for outdoor use and have an IP66 waterproof rating.
Follow the Manufacturer’s Instructions
Ensure that you follow the manufacturer’s instructions carefully. The installation process may vary depending on the product, and it is essential to ensure that you follow the correct steps.
Test the Connection Before Sealing
Before sealing the connection, it is crucial to test it to ensure that it is working correctly. This will save you time and effort in the long run and ensure that the fixture is working correctly.
Use the Right Tools
Ensure that you have the right tools for the installation process. This may include wire strippers, pliers, and a silicone sealant gun.
Check the Wiring
Before beginning the installation process, check the wiring to ensure that it is in good condition. Replace any damaged wires before starting the installation process.

Conclusion
The installation of silicone wall washer plug head plug tail is a crucial process in ensuring the waterproofing of outdoor lighting fixtures. It is essential to follow the correct steps and use high-quality materials to ensure that the installation is successful. By following the tips outlined in this article, you can ensure that your installation is done correctly and that your outdoor lighting fixtures are watertight and working correctly.

Tel: +86-13679501024
Website: www.rtrledwallwasher.com
E-mail: intsale09@rtrled.com
